
How to Make Claude Code Virtually Unlimited With 9Router
Use your Claude allowance first, automatically switch to backup models when it runs out, and keep coding without constantly watching your remaining credits.

Claude Code is at its best right before it becomes unavailable.
You are deep inside a refactor. It has finally understood the architecture, found the actual source of the bug, changed six files, and started running the tests.
Then the message appears.
You have reached your usage limit.
Come back later.
The frustrating part is not simply that Claude stopped. It is that Claude stopped at the exact moment it had accumulated enough context to become useful.
Your choices are usually terrible.
You can wait for the limit to reset. You can enable usage-based billing and hope the session does not become expensive. You can open another coding tool, explain your entire project again, and slowly rebuild the context you just lost.
Or you can change what happens after Claude runs out.
That is what 9Router does.
What 9Router actually is
9Router is a free, open-source AI gateway that runs locally on your computer.
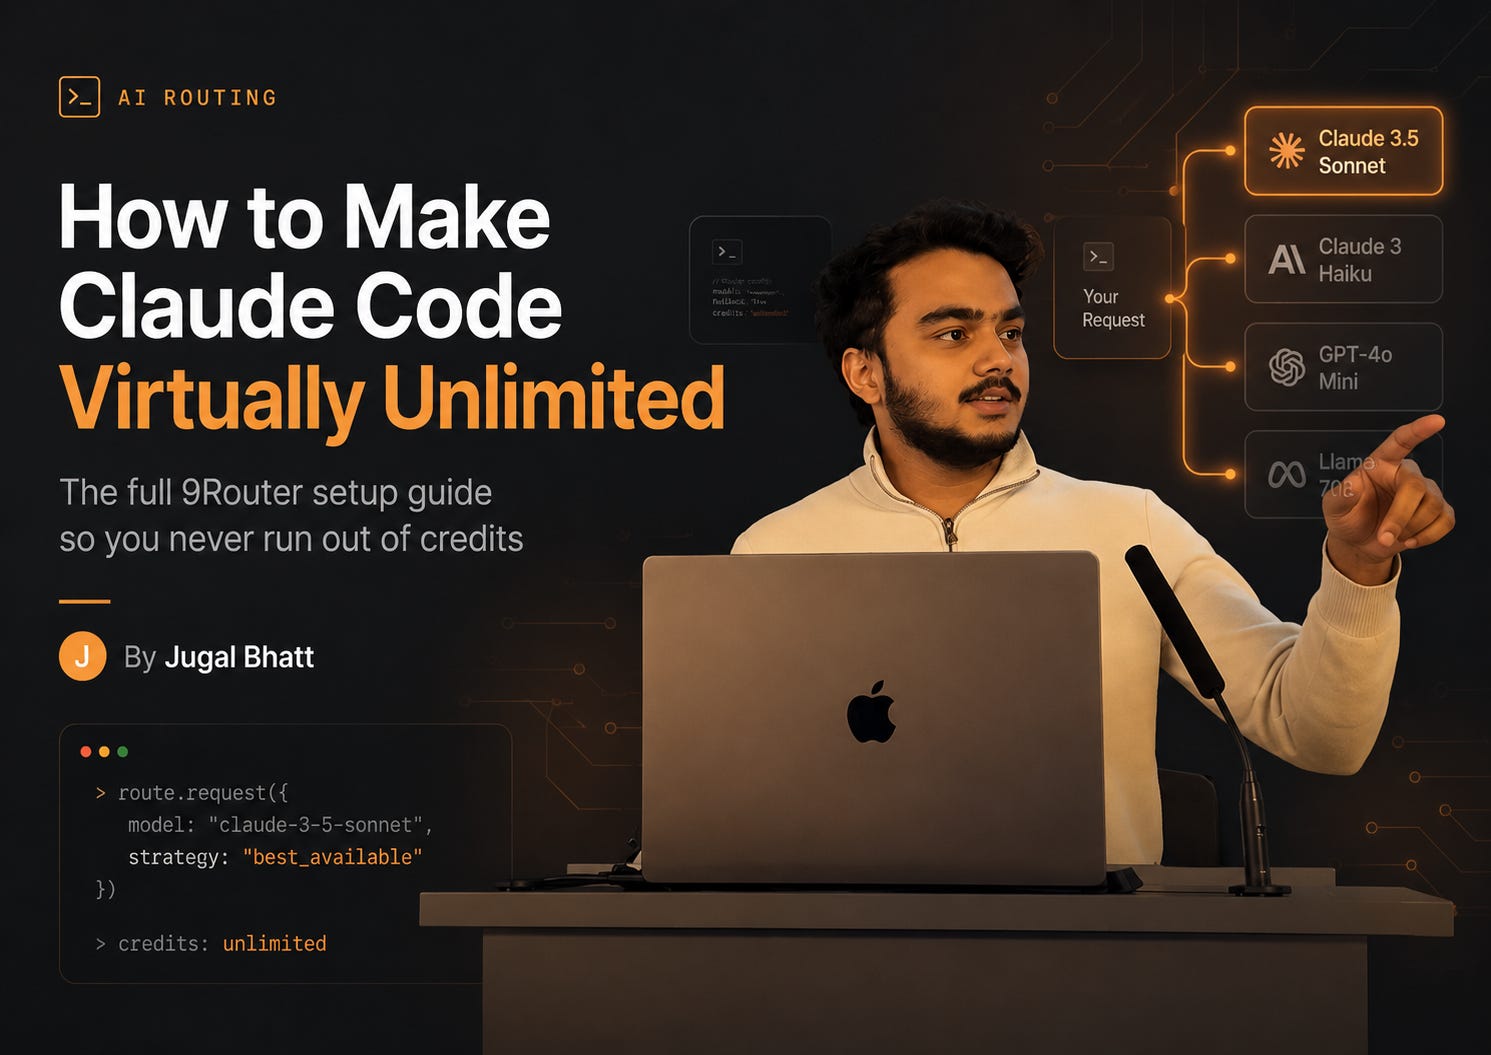
Instead of Claude Code sending every request directly to one provider, it sends the request to 9Router. The router then decides which connected model should receive it.
It handles the annoying parts in the middle:
Translating between Anthropic, OpenAI, and Gemini request formats
Tracking the remaining quota for each provider
Refreshing authentication tokens
Estimating usage and cost
Compressing large tool outputs
Switching to another model when the current one becomes unavailable
The project calls this its three-tier routing system.
Your subscriptions sit at the top. Lower-cost API models sit underneath them. Free providers become the final fallback.
9Router currently supports dozens of providers and coding tools, including Claude Code, Codex, Cursor, Cline, OpenCode, and GitHub Copilot. It exposes them through one local endpoint at localhost:20128.
Think of it like adding multiple fuel tanks to Claude Code.
Claude is the first tank. When that tank becomes empty, 9Router connects the second one. If that becomes unavailable, it connects the third.
You keep driving.
The complete setup guide
What you need before starting
You need:
Claude Code installed
Node.js 20 or newer for 9Router
At least one model provider
A terminal
About ten minutes
A Claude subscription is optional.
You can build a completely free fallback chain, use API keys, connect subscriptions you already have, or combine all three.
One important note before we begin: only connect accounts and providers you are authorized to use. Do not create extra accounts to evade quotas or provider restrictions.
Free tiers also change frequently. In fact, 9Router’s own documentation notes that several previously recommended free options were discontinued during 2026. Always check the current provider terms before depending on one for important work.
Step 1: Install Claude Code
On macOS, Linux, or WSL, use Anthropic’s native installer:
curl -fsSL https://claude.ai/install.sh | bashOn Windows PowerShell:
irm https://claude.ai/install.ps1 | iexYou can also install it through npm:
npm install -g @anthropic-ai/claude-codeVerify the installation:
claude --versionAnthropic currently recommends its native installer, although the npm package installs the same platform-specific binary.
Do not worry about connecting Claude Code to 9Router yet. We will first configure the providers and fallback chain.
Step 2: Install 9Router
Check your Node.js version:
node --version9Router’s current codebase lists Node.js 20 or newer as its runtime requirement.
Install it globally:
npm install -g 9routerThen start it:
9routerThe local dashboard should open automatically.
If it does not, open:
http://localhost:20128
The API itself is available through:
http://localhost:20128/v1Keep the 9Router process running. Claude Code will not be able to reach your providers when the router is stopped.
You can think of this terminal process as your local switchboard.
Step 3: Connect your first provider
Open the Providers section in the 9Router dashboard.
You will see several types of connections.
Subscription providers
These can include services such as Claude Code, Codex, GitHub Copilot, and Cursor.
When supported, 9Router uses an OAuth login and tracks the quota associated with that account.
API-key providers
These include Anthropic, OpenAI, GLM, MiniMax, Kimi, DeepSeek, Groq, Mistral, OpenRouter, and others.
You create an API key with the provider, paste it into 9Router, and pay that provider directly for usage.
Free providers
The providers listed as free can change over time.
At the time of writing, 9Router’s documentation recommends Kiro and OpenCode Free as its main free options. It also supports using introductory Vertex AI credits for eligible Google Cloud accounts.
For the fastest test, connect one of the free options shown inside your current dashboard.
Do not blindly copy model names from an old tutorial. Connect the provider, then use the model names that appear in your own installation.
A note about connecting a Claude subscription
9Router includes an option to connect Claude Code subscriptions through OAuth.
You should understand the policy consideration before using it.
Anthropic’s documentation says that third-party developers should not offer access to Claude.ai login credentials or subscription rate limits unless Anthropic has approved that use. Anthropic officially supports Claude Code subscriptions inside Claude Code itself, while API keys and approved cloud providers are the safer choices for third-party gateways.
The most conservative configuration is:
Anthropic API or approved cloud provider
        ↓
Low-cost API provider
        ↓
Authorized free provider
Some users may still choose the Claude Code OAuth option available in 9Router. That is a third-party integration, so review Anthropic’s current terms and make your own decision before connecting a personal subscription.
9Router does not create Claude credits. It routes whatever access your connected provider already grants you.
Step 4: Add a low-cost backup
This step is optional, but it makes the fallback chain far more reliable.
Free models are useful for documentation, tests, simple bug fixes, and boilerplate. They are not always what you want taking over halfway through a difficult architecture change.
A low-cost coding model gives you a middle layer.
The 9Router project currently lists providers such as GLM, MiniMax, and Kimi as budget-oriented backups. Pricing and limits can change, so verify them directly before adding payment information.
The process is generally:
Create an account with the provider
Generate an API key
Return to the 9Router dashboard
Choose Add API Key
Select the provider
Paste the key
Set a spending limit
The spending limit matters.
Without one, “automatically fall back” can quietly become “automatically spend money.”
Start with a small limit. Increase it only after you understand your normal usage.
Step 5: Create your routing combo
This is where everything comes together.
Open:
Dashboard → Combos → Create NewName the combo:
claude-virtually-unlimitedA quality-first configuration might look like this:
1. Your authorized Claude or Anthropic model
2. A strong low-cost coding model
3. A second low-cost provider
4. An authorized free coding model
5. An OpenCode Free model
Using example model names from the current 9Router documentation, it might resemble:
1. cc/claude-sonnet-4-6
2. glm/glm-5.1
3. minimax/MiniMax-M2.7
4. kr/claude-sonnet-4.5
5. oc/<current-free-coding-model>
Only include the first model if you have connected it legitimately and are comfortable with the provider’s terms.
A free-first setup could look like:
1. kr/claude-sonnet-4.5
2. kr/glm-5
3. oc/<current-free-coding-model>
The exact names will change as providers add and remove models. Treat these as examples, not permanent IDs.
The order matters.
9Router tries the first available option. If it cannot complete the request because of a quota, provider failure, budget restriction, or configured fallback condition, it moves down the list.
Put the model you trust most at the top.
Put your emergency model at the bottom.
Step 6: Turn on token savings
Open your endpoint or router settings.
Make sure RTK Token Saver is enabled.
The project currently enables RTK by default. It compresses large tool results such as:
git diff
grep
find
ls
tree
test output
This is particularly useful inside Claude Code because agents repeatedly inspect your repository and execute commands.
For Caveman mode, start with a low intensity.
A very aggressive setting can make the model’s responses difficult to read. It may save tokens, but you do not want architecture explanations reduced to cryptic fragments.
My recommended starting configuration would be:
RTK: Enabled
Caveman mode: Low
Request logging: Disabled unless debugging
Provider spending caps: Enabled
Step 7: Copy your 9Router endpoint key
Find the local endpoint or API key displayed in the 9Router dashboard.
It will be used by Claude Code to authenticate requests to your local router.
Do not commit this key to your repository.
Do not paste it into a project-level settings file that your team shares.
Even though the router is running locally, the key should still be treated as a credential.
Step 8: Connect Claude Code to 9Router
The most reliable way to configure a gateway in modern Claude Code is through environment variables.
macOS, Linux, and WSL
In your terminal, run:
export ANTHROPIC_BASE_URL="http://localhost:20128"
export ANTHROPIC_AUTH_TOKEN="YOUR_9ROUTER_API_KEY"
export ANTHROPIC_MODEL="claude-virtually-unlimited"
export CLAUDE_CODE_ENABLE_GATEWAY_MODEL_DISCOVERY="1"
Then launch Claude Code from the same terminal:
claudeWindows PowerShell
$env:ANTHROPIC_BASE_URL = "http://localhost:20128"
$env:ANTHROPIC_AUTH_TOKEN = "YOUR_9ROUTER_API_KEY"
$env:ANTHROPIC_MODEL = "claude-virtually-unlimited"
$env:CLAUDE_CODE_ENABLE_GATEWAY_MODEL_DISCOVERY = "1"

claude
ANTHROPIC_BASE_URL sends Claude Code requests to your gateway.
ANTHROPIC_AUTH_TOKEN sends the 9Router credential as a bearer token.
ANTHROPIC_MODEL tells Claude Code to request the combo you created instead of one individual model.
CLAUDE_CODE_ENABLE_GATEWAY_MODEL_DISCOVERY allows compatible gateway models and combos to appear in Claude Code’s model picker.
Anthropic officially documents ANTHROPIC_BASE_URL and ANTHROPIC_AUTH_TOKEN as the configuration for gateways using bearer-token authentication. Gateway credentials take priority over a saved Claude.ai login while they are active.
Step 9: Make the configuration permanent
The exports above disappear when you close the terminal.
You can add them to your shell profile, or place them in Claude Code’s user settings.
Open:
~/.claude/settings.jsonOn Windows:
%USERPROFILE%\.claude\settings.jsonAdd:
{
  "env": {
    "ANTHROPIC_BASE_URL": "http://localhost:20128",
    "ANTHROPIC_AUTH_TOKEN": "YOUR_9ROUTER_API_KEY",
    "CLAUDE_CODE_ENABLE_GATEWAY_MODEL_DISCOVERY": "1"
  },
  "model": "claude-virtually-unlimited"
}
This user-level file applies across your projects.
Do not place the credential inside a repository’s shared .claude/settings.json. Anthropic specifically recommends keeping gateway credentials in the user settings file or a local settings file that is excluded from Git.
Step 10: Verify that it is actually working
Start both services:
9routerThen, in another terminal:
claudeInside Claude Code, run:
/statusLook for:
Anthropic base URL: http://localhost:20128
Auth token: ANTHROPIC_AUTH_TOKEN
Model: claude-virtually-unlimited
The exact formatting may differ, but the base URL should point to your local router.
You can also run:
/modelYour gateway models or combo should appear if model discovery is enabled and supported by the installed versions.
Finally, send a simple prompt:
Read this repository and tell me what command runs the tests. Do not change any files.Open the 9Router dashboard and watch the request appear in the usage history.
That confirms the flow:
Claude Code
    ↓
9Router
    ↓
Selected provider
Test the fallback before you depend on it
Do not discover during a deadline that your fallback chain was configured incorrectly.
Create a temporary test combo with a free model first:
test-fallback

1. Your free provider
2. Your low-cost provider
Launch Claude Code with:
ANTHROPIC_MODEL="test-fallback" claudeSend a small request and confirm that it appears under the expected provider in the dashboard.
Next, test each model individually.
Once every provider works alone, switch back to:
claude-virtually-unlimitedTesting each layer separately makes debugging much easier than waiting for your primary quota to run out.
The final takeaway
The biggest problem with Claude Code limits is not the number of requests you receive.
It is that one exhausted account can interrupt an entire workflow.
9Router changes that architecture.
Instead of connecting Claude Code to one model, you connect it to a routing layer.
That layer uses your best model while it is available, compresses unnecessary context, watches the quota, and sends the next request somewhere else when the first provider becomes unavailable.
Your Claude credits are still finite.
Your low-cost provider still has a budget.
Your free models can still have policies and limits.
But when they are arranged behind one fallback chain, the chance of all of them becoming unavailable at the same time becomes much smaller.
That is what makes the setup virtually unlimited.
Not infinite Claude.
Something more practical.
A Claude Code session that does not have to end just because one provider says you are done for the day.
If this was useful, forward it to the person who keeps hitting their Claude limit halfway through a refactor. They probably need the router more than another prompt guide.